View Operation
Overview
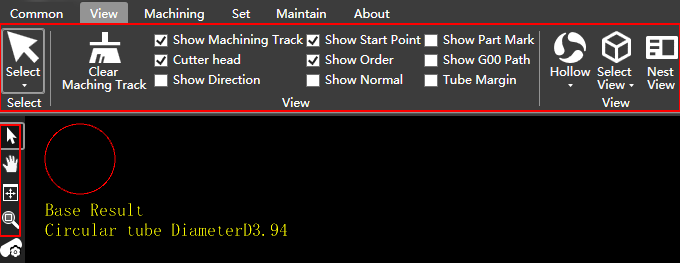
View display operation can be performed on the Software Main Interface and 2D Edit pages, and the operation effect is updated synchronously. This article takes the Software Main Interface as an example to introduce the method and effect of view display operation.
Related buttons:
Related buttons for 2D Edit:
Select Graph
Select graphic for easy editing. Two graphic selection methods are supported:
Manual selection: Manually select any graphic.
Automatic selection: Automatically select the graphic that meets the conditions.
Manually Select Graphic
Operating Steps:
On the common toolbar, click
 .
.Select any of the following methods to select graphic:
Click the left mouse button to select a single graphic.
Press and hold the Ctrl key, click the left mouse button in turn, and select multiple graphics.
Press the right mouse button and drag the mouse to select graphics. Select all the graphics that intersect the box and are included in the box.
Automatically Select Graphic
Operating Steps:
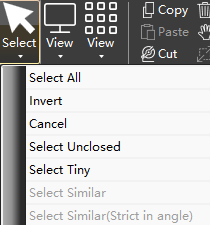
In the menu bar, click View →
 ,select:
Select All: The system automatically selects all graphics.
Invert: Inverts the selection of unselected graphics.
Cancel: The system automatically deselects all graphics.
Select Unclosed: Select all unclosed graphics in the file.
Select Tiny: Select the graphic whose X axis and Y axis dimensions are smaller than the set value.
Select Select Tiny to open the following dialog box:
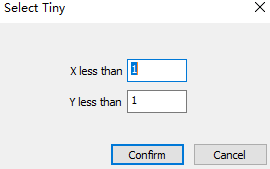
Enter X size and Y size, and click Confirm.
Select Similar: After manually select a graphic, click Select Similar, and the system will automatically select the graphic with the same type and size as the selected graphic.
Note
This operation does not distinguish between angles.
Select Similar(Strict in Angle):After manually select a graphic, click Select Similar(Strict in Angle), and the system will automatically select graphics with the same type, size, and angle as the selected graphics.
Note
This operation distinguishes angles.
Select by Layer: Select the corresponding layer under the submenu, and the system will automatically select the graphic in the layer.
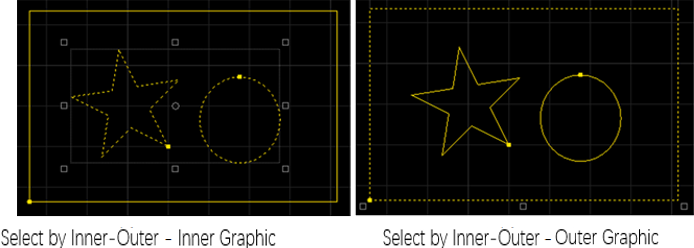
Select by Inner-Outer::Select the corresponding inner graphic (included graphic) or outer graphic (excluded graphic) in the submenu. The system automatically selects the corresponding graphic, and the effect picture is as follows:
Show
In order to better observe the technic effect, the software provides the display/hiding of various technic effects.
Operating Steps:
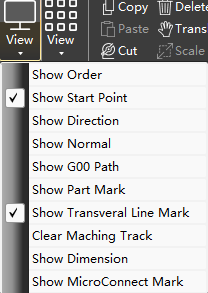
- Check the technic effect to be displayed in the display area of the View menu bar, and display the corresponding technic effect in the drawing area:
| Check | Description | Effect Picture |
|---|---|---|
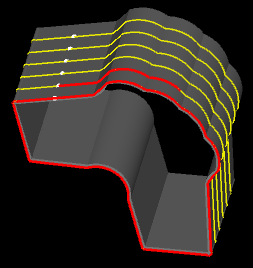
| Show machining track | The red line is used to display the machining track, especially in the simulation, the simulated machining track is displayed in real time. If you want to clear the machining path, click the  . . |
 |
| Show start point | Use white dots to display the machining start point of the graphic. | 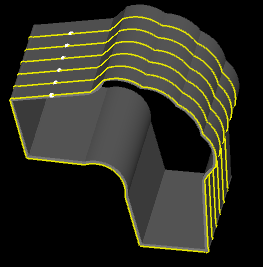 |
| Show part mark | Display part information in the way of mark. | 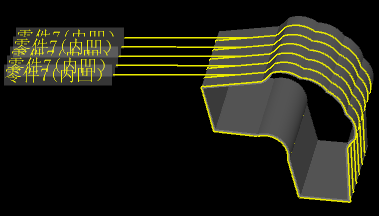 |
| Cutter head | During the simulation, the real time simulation shows the running track of the cutter head. | 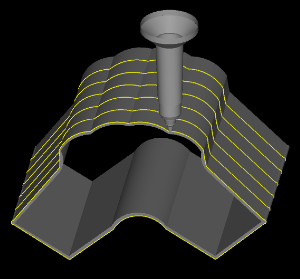 |
| Show order | Use numbers to indicate the machining sequence. | 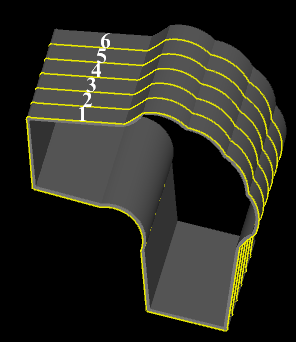 |
| Show G00 path | G00 path is the cutting head movement path from the end of one part cutting to the new one. Use the white arrow to display the moving direction of the machining head. |
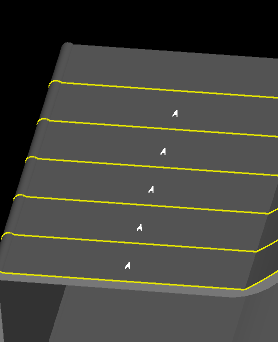 |
| Display direction | Use the white arrow to display the machining direction of the part. | 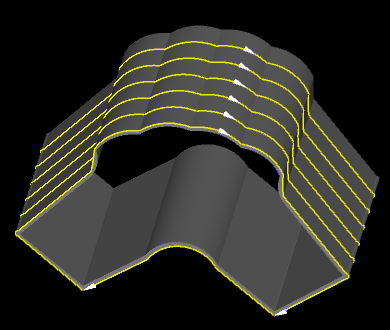 |
| Show normal | Use the color corresponding to the layer to display the effect of normal adjustment. | 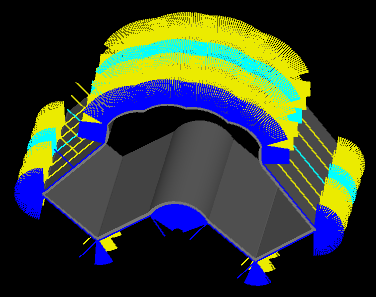 |
| Tube margin | The distance from the starting cutoff edge of the cutting part to the tube edge, and the effect is displayed with unused tube. | 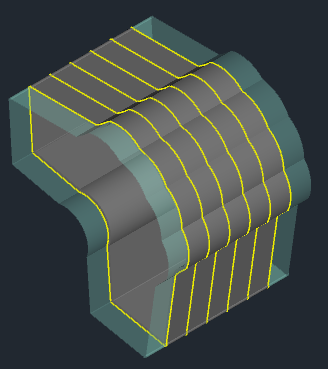 |
View
Select View Angle
Select a standard angle to view the graphic.
Operating Steps:
In the menu bar, click View →
 and select the following angles in the Select View submenu bar to view the graphic:
- Front view
- Rear view
- Left view
- Right view
- Top view
- Bottom view
Hollow
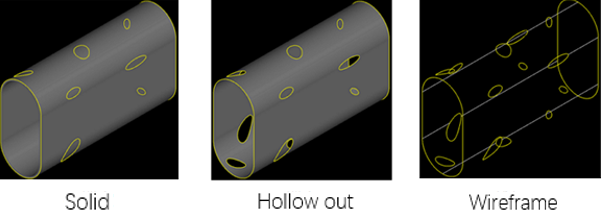
Three hollow modes are supported: solid, hollow out and wireframe. Solid hollow mode is displayed by default.
Operating Steps:
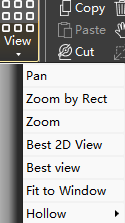
In the menu bar, click View →
 And select the following hollow modes in the Hollow submenu bar:
Solid
Hollow out
Wireframe
Effect picture:
Nest View
Displays or hides the nest result list.
Operating Steps:
- In the menu bar, click View→
 To pop up the Nest Result:
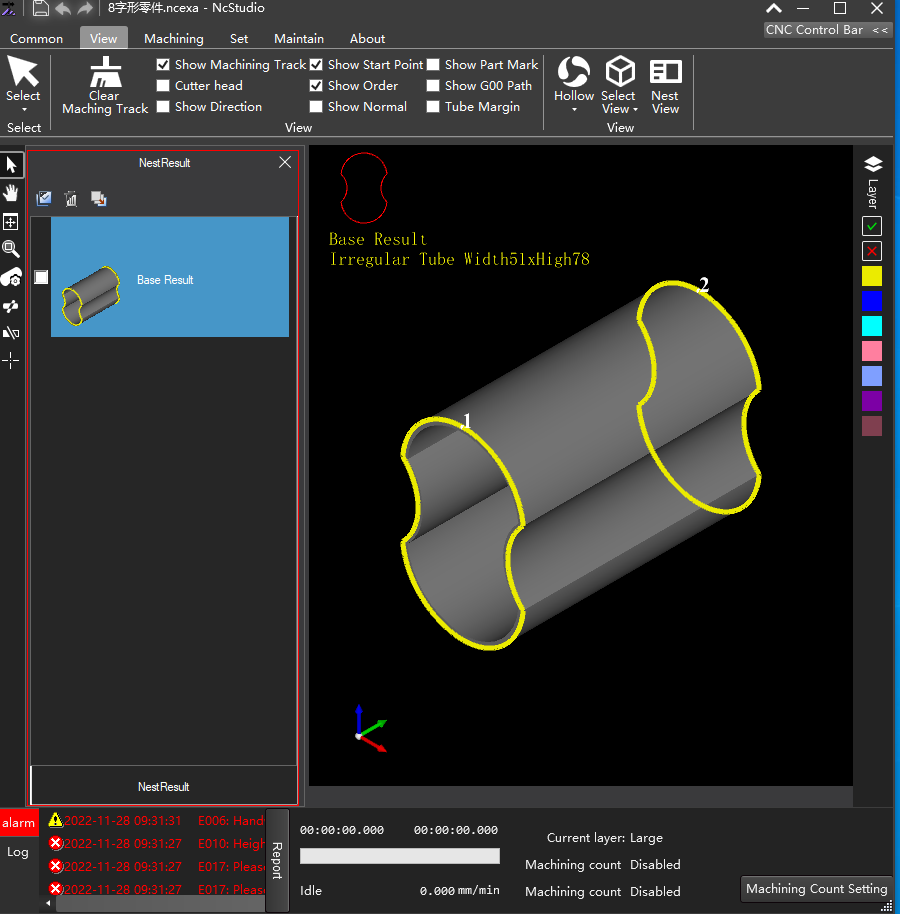
Description of the nest result list operation button:
 Select: Select all or not select nesting results.
 Delete: Delete the selected nest result.
 Base result: Switch to the base view.
Other Common Operations
Pan
Relocate the position of graphic in the drawing area, so as to observe different parts of the current graphic.
Operating Steps:
On the common toolbar, click
 to use pan function.
Select a point, press the left mouse button, drag to the target location and release the mouse.
Press Esc or right click to exit the tool.
Best View
The graphics are adjusted to the starting position and the default size, and all are displayed in the drawing area.
Operating Steps:
Select one of the following methods to use the best view function:
- On the common toolbar, click
 .
. - In the drawing area, right click and select Best View.
- On the common toolbar, click
Zoom by Rect
Enlarge the part of the graphic to the size of the view window.
Operating Steps:
On the common toolbar, click
 to use zoom by rect function.
Press the left mouse button to move and select the area to be zoomed in. Release the left mouse button to zoom in.
Press Esc or right click to exit the tool.
Zoom View
Zoom in or out to see the added technic effect more clearly.
Scroll the mouse wheel to zoom in and zoom out.
Rotate View
Rotate the view 360 ° to view the tube more comprehensively.
Operating Steps:
Select one of the following methods to rotate the view:
Press the mouse wheel and drag the mouse to rotate the tube in any direction.
Press Ctrl and roll the mouse wheel to quickly rotate around the tube stretching direction.
Press Shift and scroll the mouse wheel to slowly rotate around the tube stretching direction.