CCD Operations
To execute CCD operations, do the following:
- Switch to CCD Setting window.
- Set camera.
- Debug CCD and the machine.
- Set CCD and the workpiece.
- Execute other operations.
Set the Camera
This operation mainly contains setting the following two parameters:
- Exposure
- Gain
To set the camera, do the following:
Switch to Param interface.
Check Setting ON.
Drag the slider to adjust the percentages of Expose and Gain:
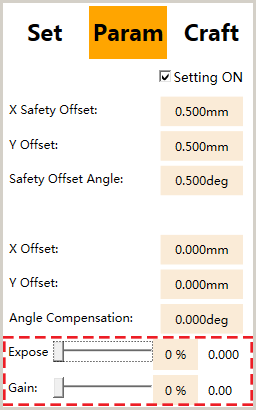
After setting, exposure and gain time corresponding to the percentages automatically shows.
Note: Too large percentage of Expose results in low captured frame rate. Thus, Expose should be set properly.
After setting Expose, you need to consider whether to increase the shoot delay time(unit: ms).
In general, the requirement of shoot delay time is as the follows:
Shoot Delay Time > 100ms + Exposure Time
Among them, 100ms refer to the machine's stop time.
Example
If Expose is set to 7%, the corresponding exposure time is 0.035s (35ms). Thus, it is reasonable to set the shoot delay time to 200ms.
Debug CCD and the Machine
Focal length, magnification and offset are fixed after the machine tool is installed. If the machine tool is replaced or repaired (e.g. the camera or lens is reinstalled), these three values need to be re-measured. That is, debugging CCD and the machine tool is required.
To debug CCD and the machine tool, do the following:
- Click Basic Setting → Set and check Setting ON.
- Measure the focal length.
- Measure the magnification.
- Measure the offset between the spindle and CCD.
Measure the Focal Length
Aim of the operation: Before shooting, X-axis and Y-axis move to the shooting point and Z-axis moves to the focal height.
To measure the focal length, do the following:
Manually move Z-axis until the camera can take a clear picture.
Enable X10 with handwheel to move Z-axis until Z-axis finds the clearest position.
Click Pick Current to set Z-axis coordinate of the focal length:
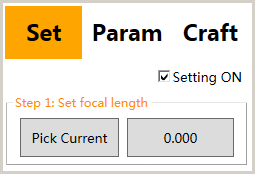
The value automatically fills to the right button.
Measure the Magnification
Aim of the operation: To obtain the proportional relationship between the pixel and the displacement.
Wrong magnification results in wrong CCD result.
To measure the magnification, do the following:
Set the movement distance for the machine, e.g. 1.500mm:

Click Pick Feature Pt to set the current point as feature point. The point will be looked for during measuring magnification.
The point must be unique within the camera view.
See What Are the Requirements for the Selected Feature Points in Measuring Magnification? for details.
Click Start to start to measure magnification.
After measuring the magnification finishes, do the following:
- Click Start repeatedly to do several measurements.
- Click Record to view the measurement results.
- Remove the values changing greatly.
Measure the Offset between the Spindle and CCD
Without the offset between the spindle and CCD, the workpiece will deviates in the X and Y directions.
To measure the offset between the spindle and CCD, do the following:
Turn the handwheel to make Z-axis slowly approach an useless area in the workpiece.
Click Spindle on the port control area to enable the spindle.
Switch handwheel override to X10 and slowly deepen Z-axis to drill a hole.
Click Spindle again to disable the spindle.
Click Record:
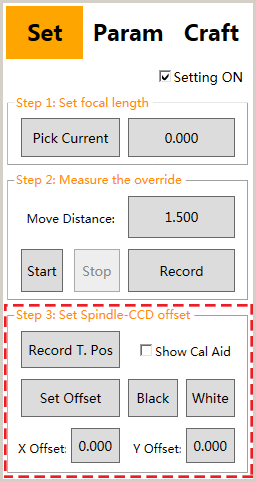
Turn the handwheel to find the hole position and move camera center to the tangent position of the hole in X-axis direction:

Move a tool radius in X-axis direction.
At this time, the coordinate in X-axis direction is the position of the circle center:
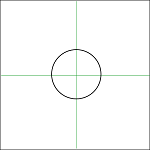
Repeat the step to check the setting of tool radius. If it is set correctly, the CCD center should be on the other side of the tangent position:
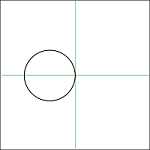
Repeat steps 6 and 7 to find the center position in Y-axis direction.
Click Set Offset to set the offset.