如何绘制页面及对话框
本文将详细介绍如何在 Phoenix 平台的UI框架上进行基础的页面开发。
在具体了解如何绘制页面及对话框的操作之前,用户必须要对Phoenix平台目前的UI框架有一个简单的认识与了解。
Phoenix平台的UI框架是基于.NET提供的WPF框架为基础进行开发的。页面文件格式为 XML。用户可以自行参考《WPF编程宝典》一书来进行学习。
因为基于WPF框架,所以页面的开发也有配套的工具可以使用:
Blend(推荐)
这是一款用于开发用户界面的可视化工具,特色是可以使用拖拽的方式进行页面开发。
Visual Studio
这是一款高度集成的开发工具,适合专业开发人士使用,不推荐新手学习。
在用户有了以上对 Phoenix 平台UI框架的一些简单了解之后,下面将详细介绍如何进行具体的页面开发,包括:
绘制主页面
主页面即主窗口,是软件启动后的最顶层窗口(控件使用的是Window)。如果说整个页面结构就像是一棵树,主页面就是这棵树的第一个节点,其他所有的页面都是由其引出的。
请参考以下步骤,绘制一个简单的主页面:
在
\UI文件夹下创建一个空白的xaml文件,将文件命名为Main.xaml。使用编辑器打开
Main.xaml,编辑主页面。示例代码如下:
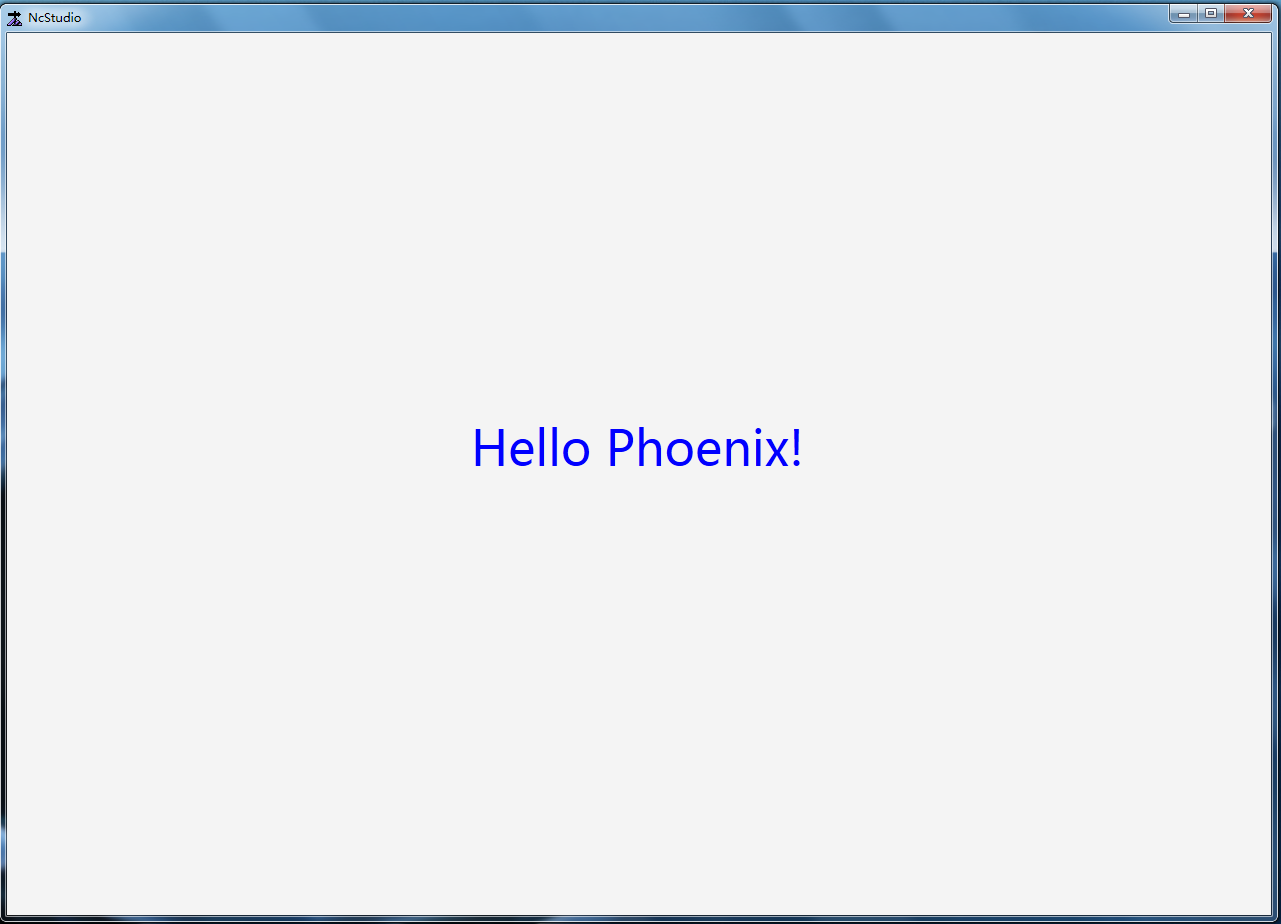
<?xml version="1.0" encoding="utf-8"?>
<Window xmlns="http://schemas.microsoft.com/winfx/2006/xaml/presentation"
    xmlns:x="http://schemas.microsoft.com/winfx/2006/xaml"
    xmlns:d="http://schemas.microsoft.com/expression/blend/2008"
    xmlns:mc="http://schemas.openxmlformats.org/markup-compatibility/2006"
    xmlns:i="http://schemas.microsoft.com/expression/2010/interactivity"
    x:Name="Main"
    Title="NcStudio"
    Width="1280"
    Height="920"
    MinWidth="1024"
    MinHeight="730"
    mc:Ignorable="d"
    WindowState ="Maximized">
    <Grid>
        <TextBlock Height="117" HorizontalAlignment="Center" Text="Hello Phoenix!" VerticalAlignment="Center" Width="337" FontSize="48" />
    </Grid>
</Window>
结果如下所示:

绘制子页面
子页面即由其父页面引申出来的页面(控件使用的是UserControl)。
子页面的绘制其实和主页面没有太大不同,只是子页面必须基于父页面呈现。
请参考以下步骤,添加子页面:
在
UI\Pages文件夹下创建一个空白xaml文件,并将文件命名为CustomPage.xaml.使用编辑器打开
CustomPage.xaml,编辑子页面。示例代码如下:
<UserControl
    xmlns="http://schemas.microsoft.com/winfx/2006/xaml/presentation"
    xmlns:x="http://schemas.microsoft.com/winfx/2006/xaml"
    xmlns:d="http://schemas.microsoft.com/expression/blend/2008"
    xmlns:mc="http://schemas.openxmlformats.org/markup-compatibility/2006"
    mc:Ignorable="d"
    x:Name="UserControl"
    >
    <Grid>
        <TextBlock Height="117" HorizontalAlignment="Center" Text="Hello Phoenix!" VerticalAlignment="Center" Width="337" FontSize="48" Foreground="Blue" />
    </Grid>
</UserControl>
打开主页面
UI\Main.xaml文件,使用XPage控件关联子页面,并添加对ui的引用。- Xpage控件关联语法
<ui:XPage Name="CustomPage" Path="Pages\CustomPage.xaml"/>- ui引用语法
<xmlns:ui="http://weihong.phoenix.ui.interactions" />示例代码如下:
<?xml version="1.0" encoding="utf-8"?>
<Window xmlns="http://schemas.microsoft.com/winfx/2006/xaml/presentation"
    xmlns:x="http://schemas.microsoft.com/winfx/2006/xaml"
    xmlns:d="http://schemas.microsoft.com/expression/blend/2008"
    xmlns:mc="http://schemas.openxmlformats.org/markup-compatibility/2006"
    xmlns:i="http://schemas.microsoft.com/expression/2010/interactivity"
    xmlns:ui="http://weihong.phoenix.ui.interactions"
    x:Name="Main"
    Title="NcStudio"
    Width="1280"
    Height="920"
    MinWidth="1024"
    MinHeight="730"
    mc:Ignorable="d"
    WindowState ="Maximized">
    <ui:XPage Name="CustomPage" Path="Pages\\CustomPage.xaml"/>
</Window>
结果如下所示:
绘制对话框
对话框的绘制与页面的绘制一致,不同之处在于放置的位置及调用的方式。
请参考以下步骤,添加对话框:
在
UI\DialogBox文件夹下创建一个空白的xaml文件,并将文件命名为CustomDialog.xaml。使用编辑工具打开
CustomDialog.xaml,编辑对话框。示例代码如下:
<UserControl
    xmlns="http://schemas.microsoft.com/winfx/2006/xaml/presentation"
    xmlns:x="http://schemas.microsoft.com/winfx/2006/xaml"
    xmlns:d="http://schemas.microsoft.com/expression/blend/2008"
    xmlns:mc="http://schemas.openxmlformats.org/markup-compatibility/2006"
    mc:Ignorable="d"
    x:Name="UserControl"
    >
    <Grid>
        <TextBlock Height="117" HorizontalAlignment="Center" Text="Hello Phoenix!" VerticalAlignment="Center" Width="337" FontSize="48" Foreground="Blue" />
    </Grid>
</UserControl>
打开
UI\Main.xaml主页面文件,添加对对话框的调用。示例代码如下
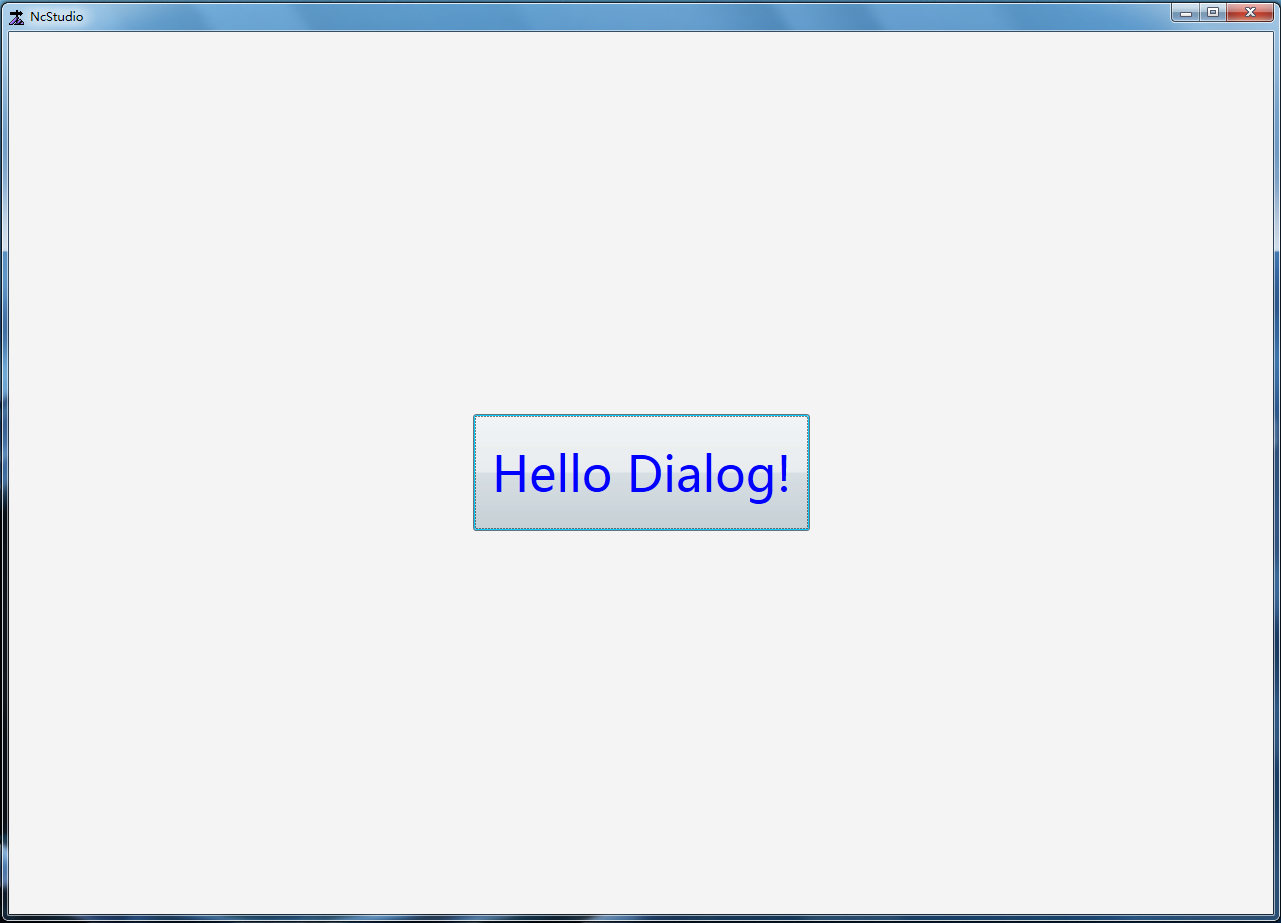
<?xml version="1.0" encoding="utf-8"?>
<Window xmlns="http://schemas.microsoft.com/winfx/2006/xaml/presentation"
    xmlns:x="http://schemas.microsoft.com/winfx/2006/xaml"
    xmlns:d="http://schemas.microsoft.com/expression/blend/2008"
    xmlns:mc="http://schemas.openxmlformats.org/markup-compatibility/2006"
    xmlns:i="http://schemas.microsoft.com/expression/2010/interactivity"
    xmlns:ui="http://weihong.phoenix.ui.interactions"
    x:Name="Main"
    Title="NcStudio"
    Width="1280"
    Height="920"
    MinWidth="1024"
    MinHeight="730"
    mc:Ignorable="d"
    WindowState ="Maximized">
    <Button Height="117" Content="Hello Dialog!" Width="337" FontSize="48" Foreground="Blue" >
        <i:Interaction.Behaviors>
            <ui:ShowDialogBehavior XPagePath="{ui:PathBinding Pages\\DialogBox\\CustomDialog.xaml}" EventName="Click" />
        </i:Interaction.Behaviors>
    </Button>
</Window>
结果如下所示:
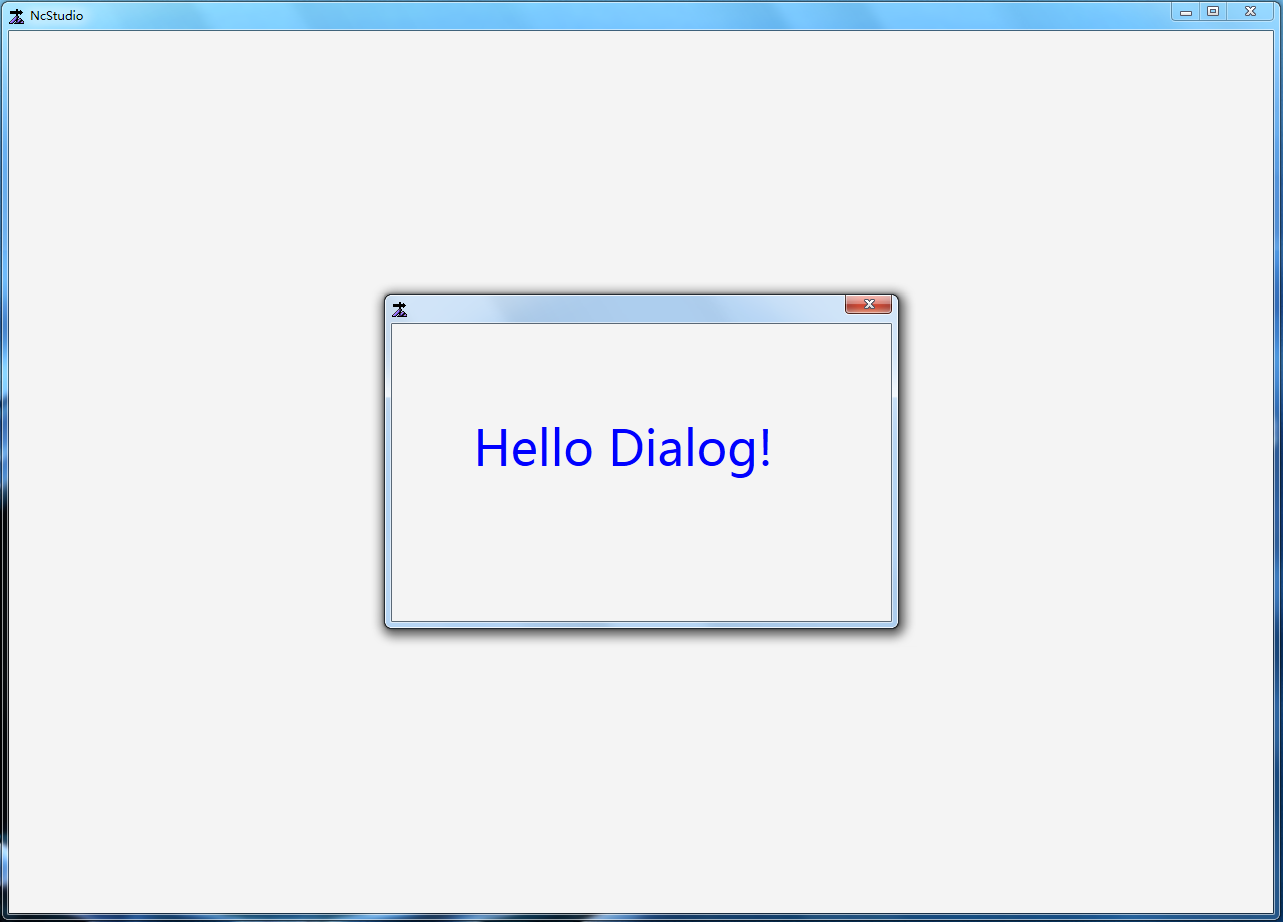
注意:调用对话框并不只有这一种方式,我们在后续的页面交互会讲到其他方式的调用。`
常用控件及行为
在上述的内容中,我们介绍了页面开发的基本方法。其中提到了一些基本控件。除了这些基本的控件外,Phoenix 框架为用户提供很多基础素材控件以供使用和参考。详细请访问常用UI控件库,通过这些素材,用户完全可以绘制出丰富多彩的页面来。
相关文档